Professional Video Rendering Tips
A professional video rendering can be one of the most important things in your marketing plan. It can be an outstanding final part of your presentation. When compared to a photo rendering, a video rendering has many advantages:
- It allows viewing the 3D jewelry model form all the angles, with a high resolution video, thus allowing a full understanding of the concept.
- The added background, music effects and zoom-in, zoom-outs will make your demonstration more effective.
- You may focus on your speech, while the video demonstrates the model, rather than having to go back and forth with the photos.
There are multiple software for jewelry rendering, including professional video rendering. If you are on a deadline and want to make something quick you may use the Z-Brush software to create a video rendering of the 3D jewelry model. More professional renderings can be created with Keyshot and 3D Max software.
How to make 3D video rendering?
There are a few things you need to take into account while making 3D video rendering:
- Try to have as much frames as possible. This will allow the 3D jewelry model to turn more smoothly in the video. And the overall look will be much better.
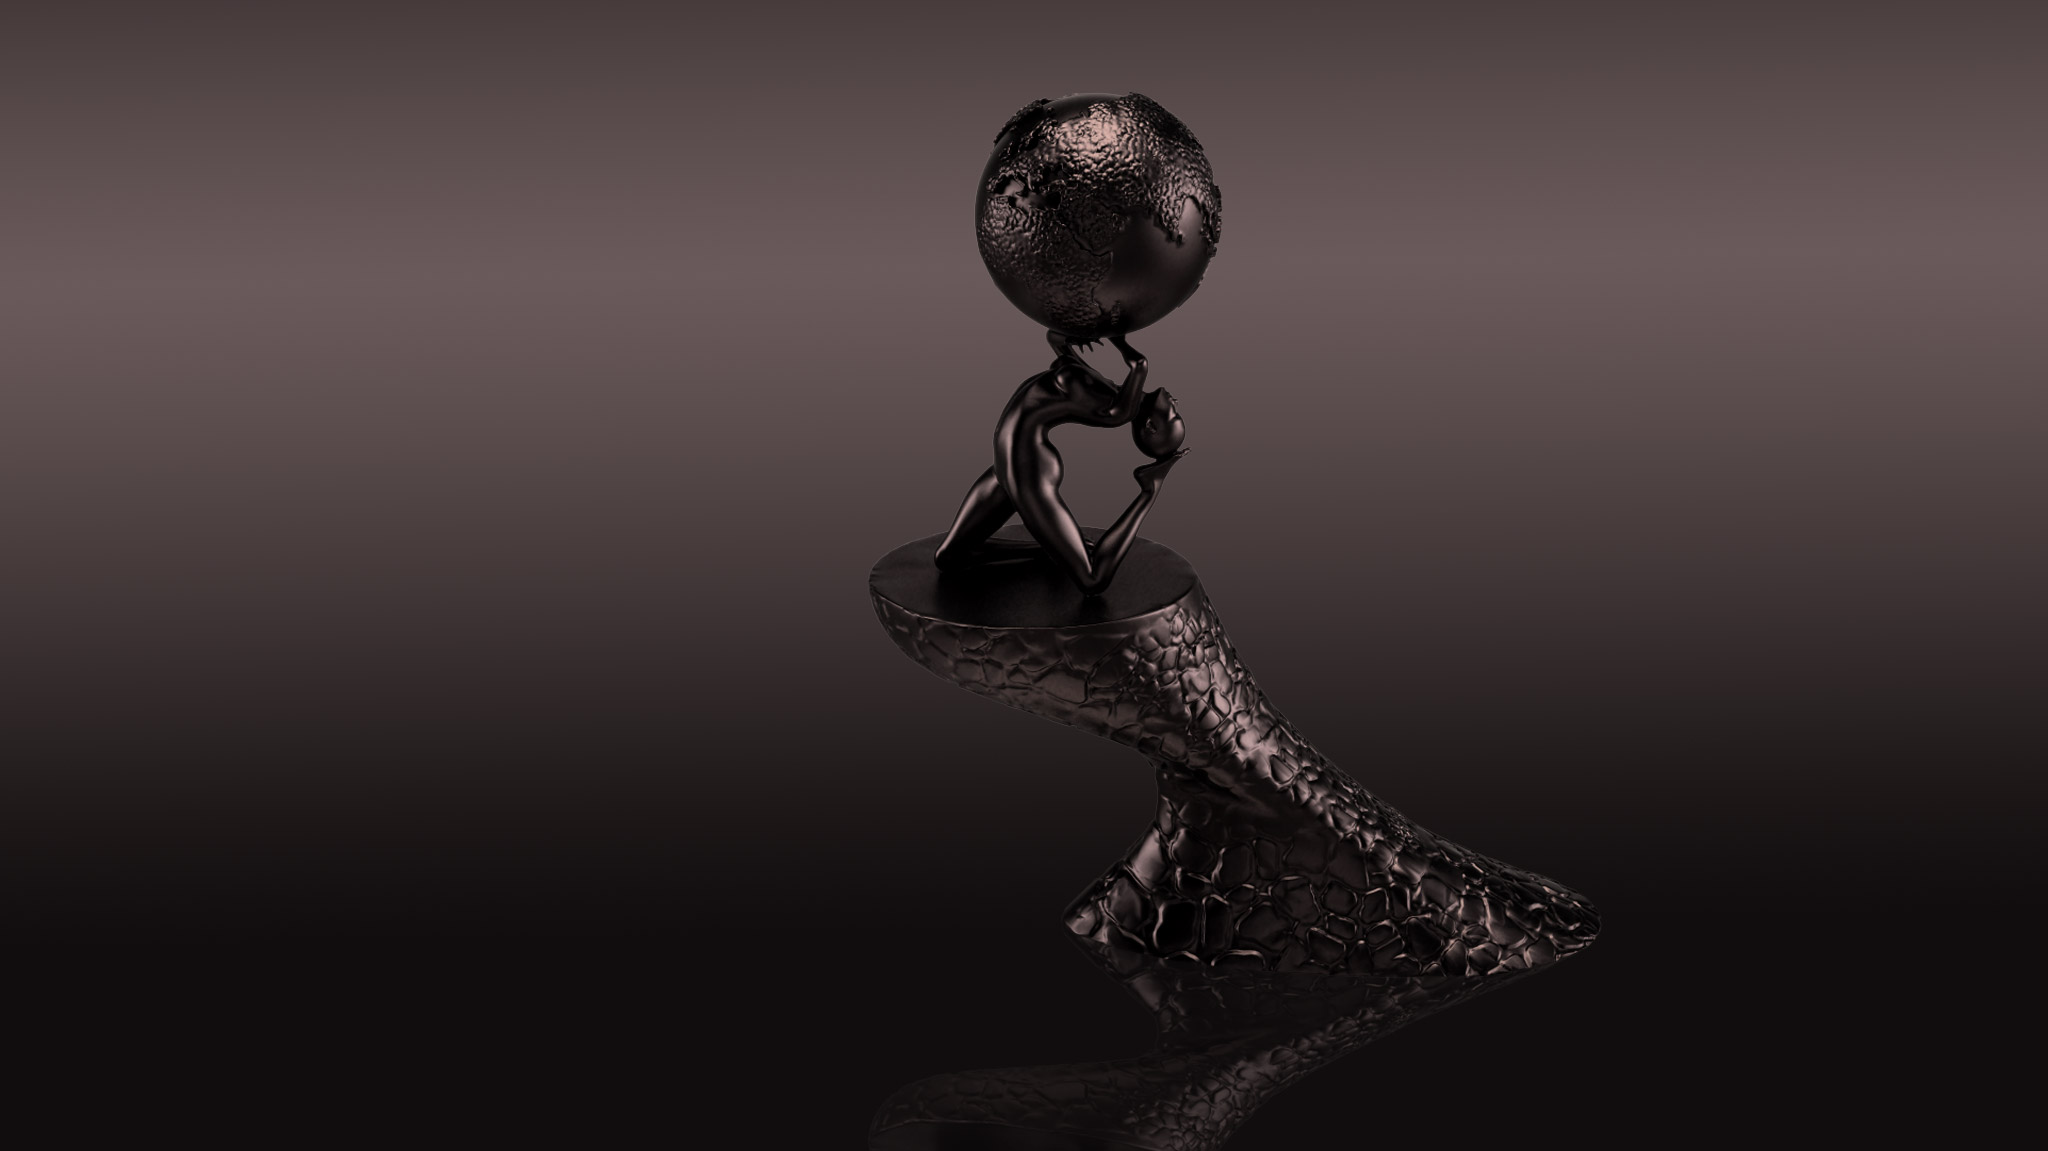
- Carefully pick the background color or texture. Try to have darker colors, so that the model is highlighted, and the metal and stones are shiny and visible.
- Try to accommodate the video with a relaxing calm music, so that it’s not overwhelming.
- A very important thing is not to end a video in a middle of some action, like a turning point, or zoom-in, zoom-out part. Try to have a fully finished video.
- Changing angles during the 3D video rendering don’t need to be very fast and sharp. Try to move the camera calm and slow.
- And last, but not least: don’t put too many objects in one video file. Try to have only the jewelry model you want to present. And focus mainly on it.